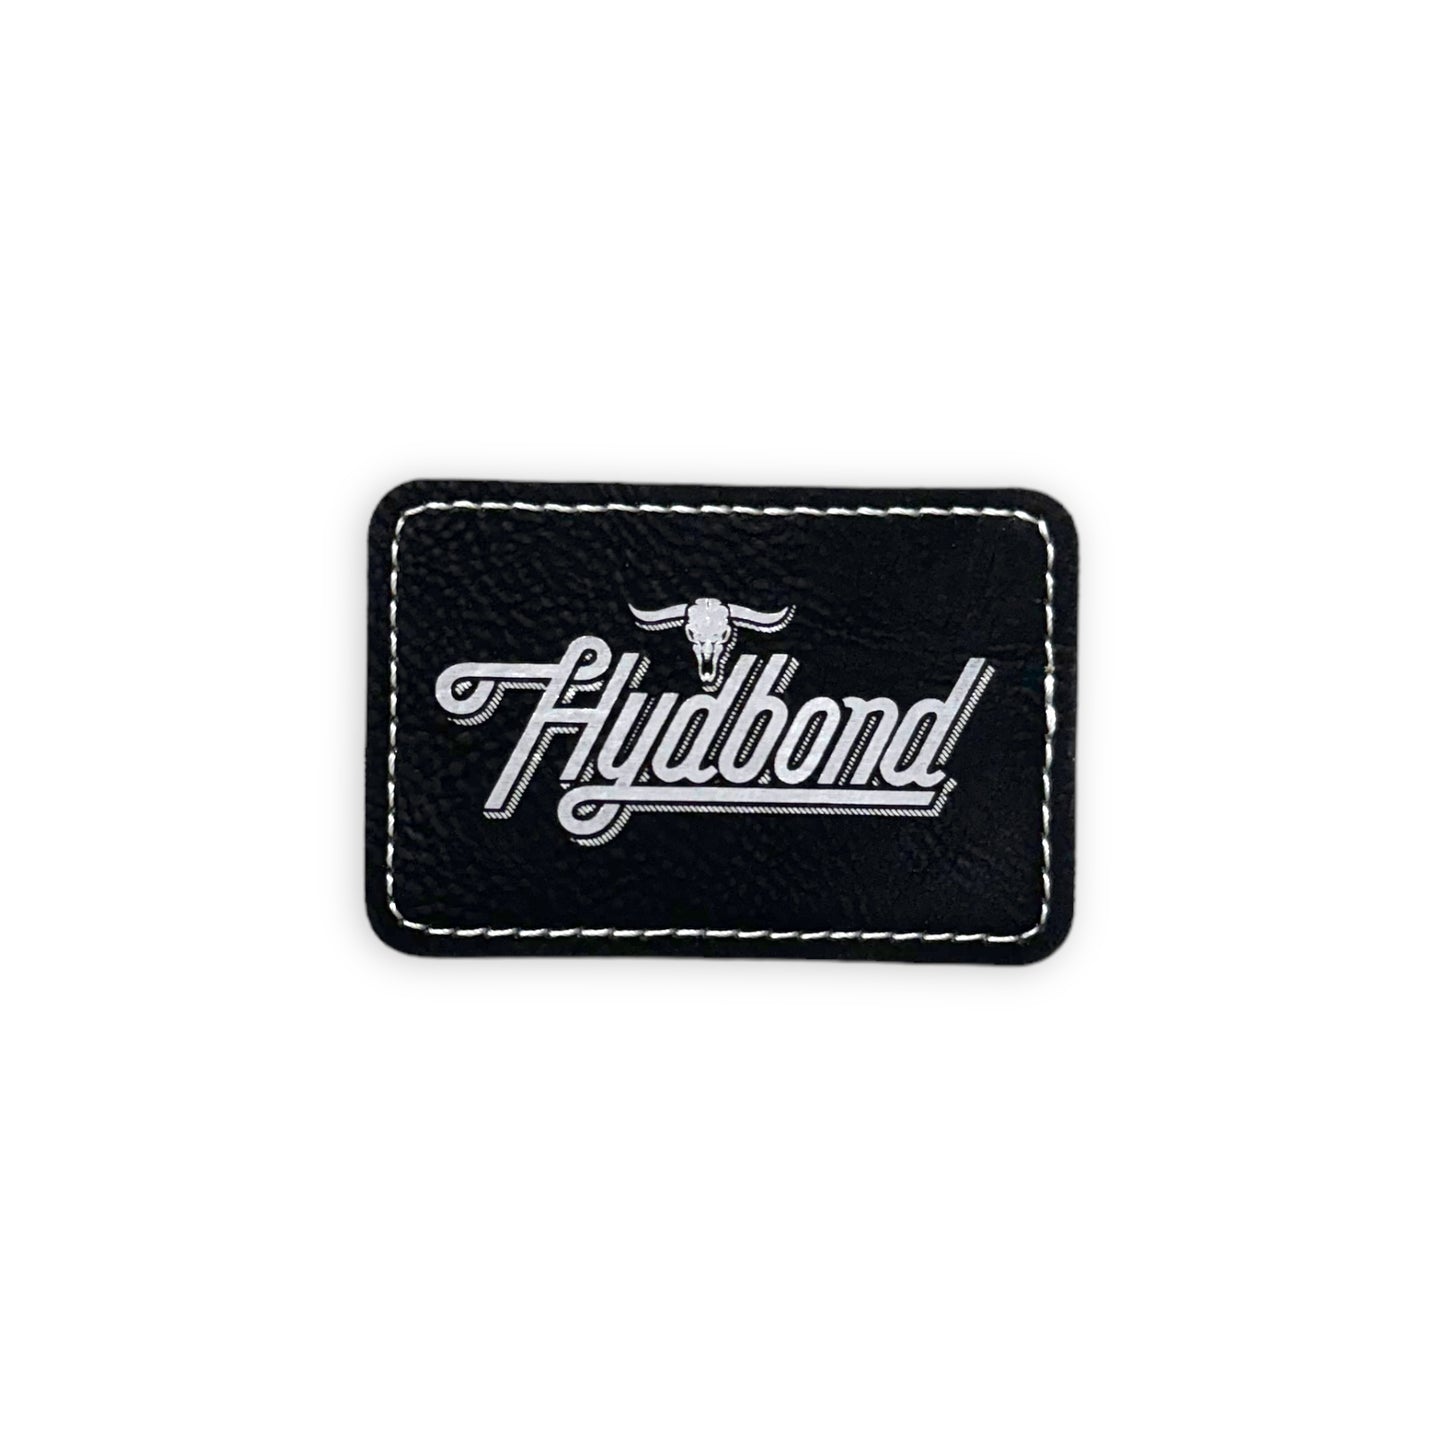
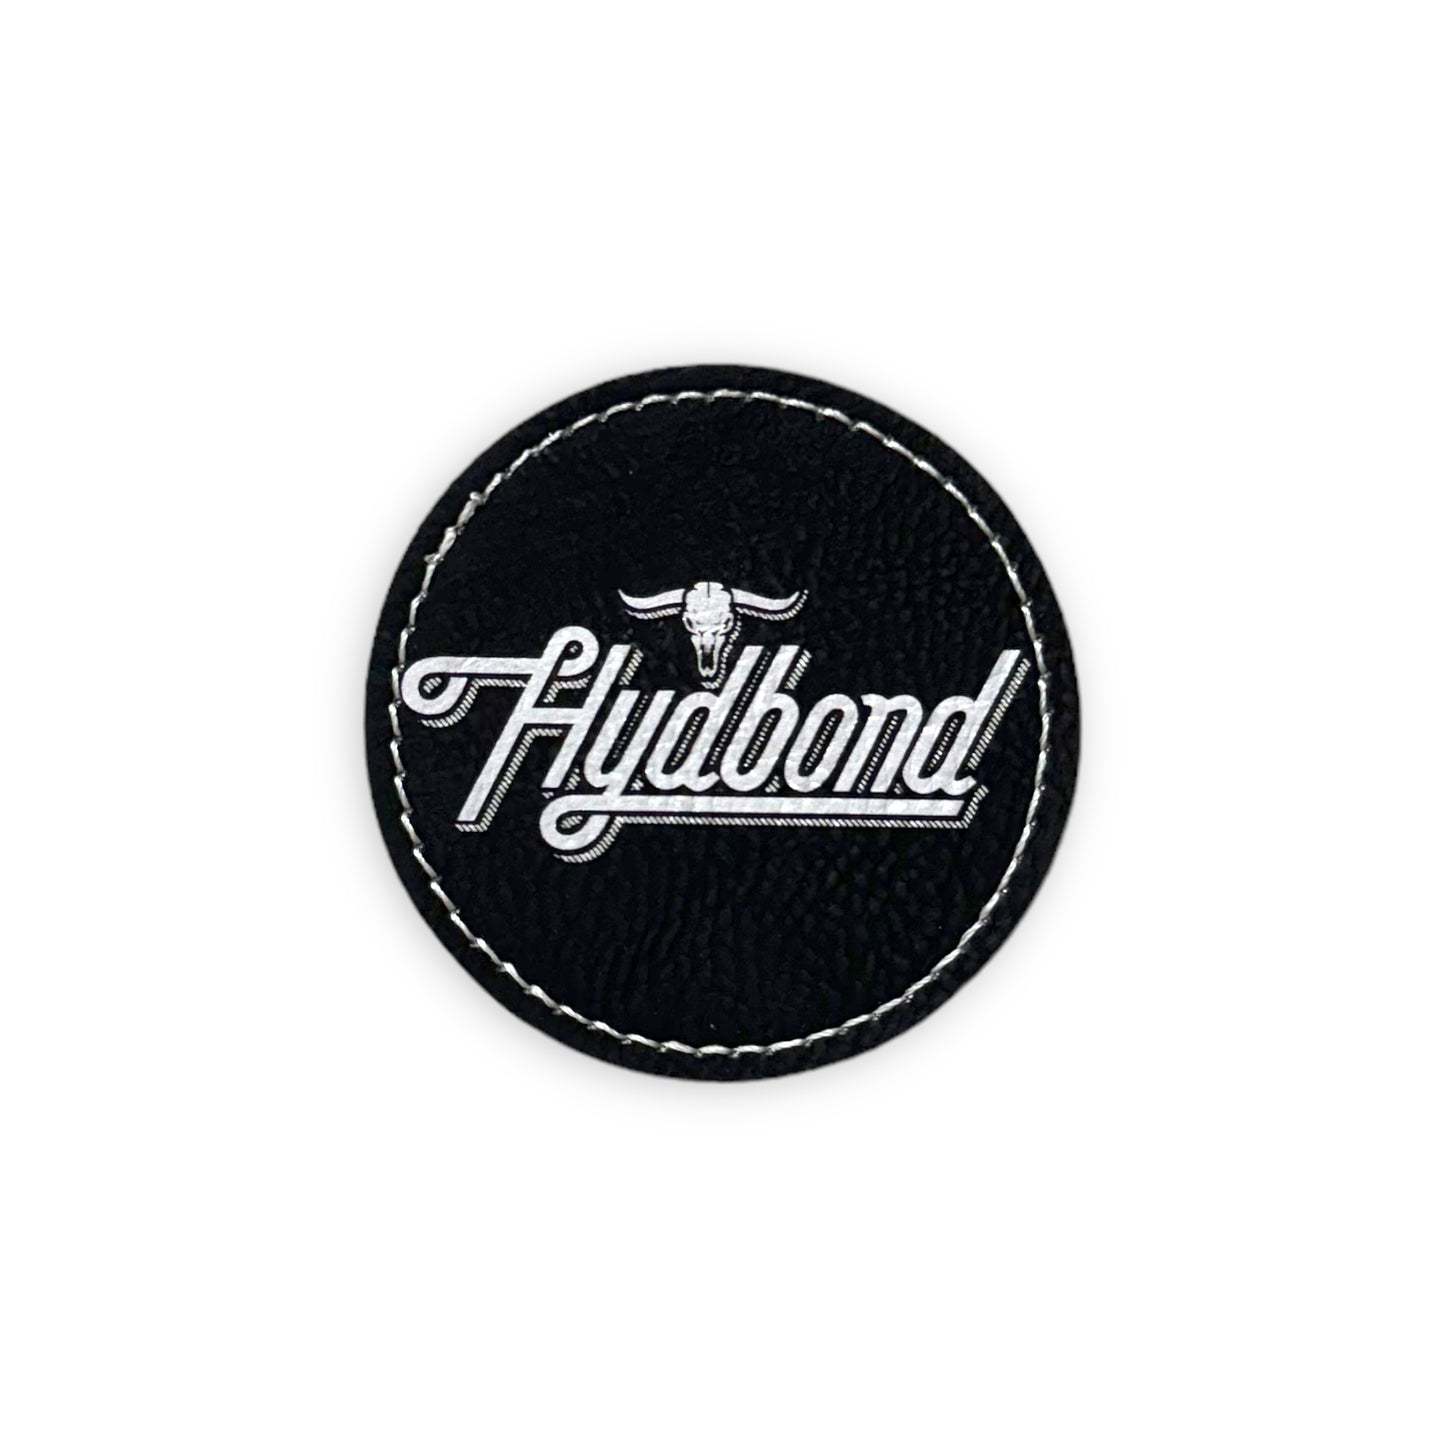
Black/Silver Stitched Patch Blanks w/ Hydbond Adhesive
Black/Silver Stitched Patch Blanks w/ Hydbond Adhesive
812 in stock
SIZE
Rectangle- 3"x2"
Square- 2.5"
Circle- 2.5"
Hexagon- 3"x2"
5.0 / 5.0
(1) 1 total reviews
Hydbond Leatherette Specifications
Hydbond Leatherette Specifications
SIZE:
12" x 24" per panel
THICKNESS:
Approximately 1.45mm
BACKING:
These Leatherette sheets come pre-applied with our industry leading Hydbond adhesive.
(Heat activated adhesive)
Prior to applying this material to your garment, ensure that you have removed the white paper transfer.
You CAN remove the white paper transfer before or after you laser engrave & cut your patches.
Note: Non-tacky until heated
TEXTURE:
Real leather duplicated to achieve a heightened sense of authenticity.
MATERIAL:
Non-toxic faux leather designed & manufactured specifically for laser engraving
LAYERS:
The surface layer is composed of the color of the leather you perceive, reinforced by a specific fabric to increase its thickness.
When engraving, the color beneath will be revealed.
The durable gray backing material used in our leatherette provides long-lasting support.
Note:
Rawhide/black will laser black
Black/Silver will laser silver
Couldn't load pickup availability
Share


Hydbond Instructions
Download our instructions here!
https://cdn.shopify.com/s/files/1/0641/8310/7806/files/Hydbond_Instuctions.pdf?v=1720543392Let customers speak for us
from 693 reviewsGreat product. Awesome to work with. High quality. I will definitely be getting more.

AWESOME!! Worked perfect for my project. Highly recommend it.

Product was as expected. Perfect color and quality for my hat patch project.

Excelente producto

I have been buying their leatherette for my business since I started last year and I couldn't be happier. Their leatherette color choices are excellent and their customer service is top notch! They are very quick to reply and they resolve any issues immediately. Truly phenomenal in this day and age. Wish I could give them more than 5 stars. I will continue to purchase from them for my business needs.
Quality product, great customer service and reliable!

Excellent product!

Grate product

NEON GREEN/BLACK WITH ADHESIVE HYDBOND LEATHERETTE SHEET (12"x24") ULTRAHYD®

Great look on the carbon fiber leatherette. Play with your settings as it cuts different then leatherette. It has a softer foam like core that will melt causing the edges to donweird things without proper settings.

I have been using this for over a year! never a failure, great product, great servcice and treats vets great!!!

MORE INFO
Collapsible content
Dual Heated Hat Press Settings
To achieve optimal results, make sure the bottom platen is set to 320°F and the top platen is set to 280°F.
The pressure should be moderate.
Press for 35 seconds.
Note: Press down on your leatherette patch for a few seconds allowing it to stick and stay in place
Top Heated Only Hat Press Settings
For users with a hat press that is only heated from the top, we have the perfect settings for you!
1. Set your hat press to 300°F.
2. Pre-Press your hat for 25-30 seconds.
3. Place your patch on the hat immediately after the pre-press & apply enough pressure for the patch to stay in place while the hat is hot.
4. Again, press the patch for 30 more seconds at medium pressure. Make sure to use a heat resistant cover pad over the patch to prevent scorching of the hat/patch.
Household Iron or Cricut hat press Compatible
Houshold Iron
When applying the patch, use a moderate to high heat setting and apply mild pressure while moving around the patch for 30 to 45 seconds.
Cricut Hat Press
300°F for 50 seconds while applying medium pressure.
Laser Compatibility & Settings
Most lasers should be compatible with Hydbond leatherette as long as the wattage is 10W or higher.
This includes the following manufactures just to name a few. Epilog, Trotec, X-Tool, Thunder, OM-TECH, Full spectrum, etc.
LASER SETTINGS
Due to the multitude of laser manufacturers and the varying wattages available, it can be quite challenging to provide accurate settings tailored to your specific laser. We recommend conducting a series of experiments using a small piece of our leatherette in order to find the optimal settings for your laser.
Leatherette Cleaning
Hydbond Leatherette should be cleaned with a product called LA AWESOME.
LA AWESOME, a non-toxic degreaser is the perfect choice for those seeking an effective solution for business or home use.
To ensure optimal results and preserve the quality of your engravings, begin by spraying a small quantity on a microfiber cloth and softly wiping the leatherette surface to eliminate any char or residue caused by the burning of your laser. You can repeat this process until most, if not all char is removed.
Note: During this process, it is essential to maintain a slight and uniform pressure.
Washing
Hand wash is always our first recommended method.
Wash with soap and water, avoid scrubbing on the patch to preserve engravings.
Noah's Recommendations & Tips
Hey there! This is Noah with Hydbond. Owner & Founder
Thank you for your interest in our leatherette. Our leatherette is extremely easy to work with, so if you are a beginner in the industry or an expert looking to add leatherette to your line of work, you've came to the right place!
Working with our Metallic Leatherette (Black/Silver, Blue/Silver)
Metallics can be hard to work with your first time, but trust me. It's all in the Laser settings! It takes VERY little power in order to reveal the metallic color underneath so keep that in mind when you are trying to dial in your settings. Also, ensure your focus is spot on. It's essential to keep your leatherette as flat as possible while engraving. Any part of your laser lens out of focus, will make a significant impact on the quality of your engravings.
Cleaning
I've been using LA AWESOME as a cleaner for quite some time and it works fantastic! Just make sure not to rub too hard as you can lift some of the color off of the leatherette.
Beginner tips
Make sure to grab a heat resistant silicone or foam pad. You will use these a lot. Place it over your patch right before you press to avoid scorching & patch contamination.
To maintain a flat surface on your laser bed, you CAN remove the paper transfer before engraving. If you decide to do this, ensure that you wipe the glue side with a damp microfiber towel before pressing your patch to remove any dust or debris contamination.
If you ever have any questions, feel free to contact us at any time. My team and I would love to assist!😊 Send us a chat in the box to the right of your screen for quick help!


