HOW TO ORDER UV3D PATCHES
(Step-by-Step)

ORDER SAMPLES BELOW

GET SAMPLES

why UV-3D?

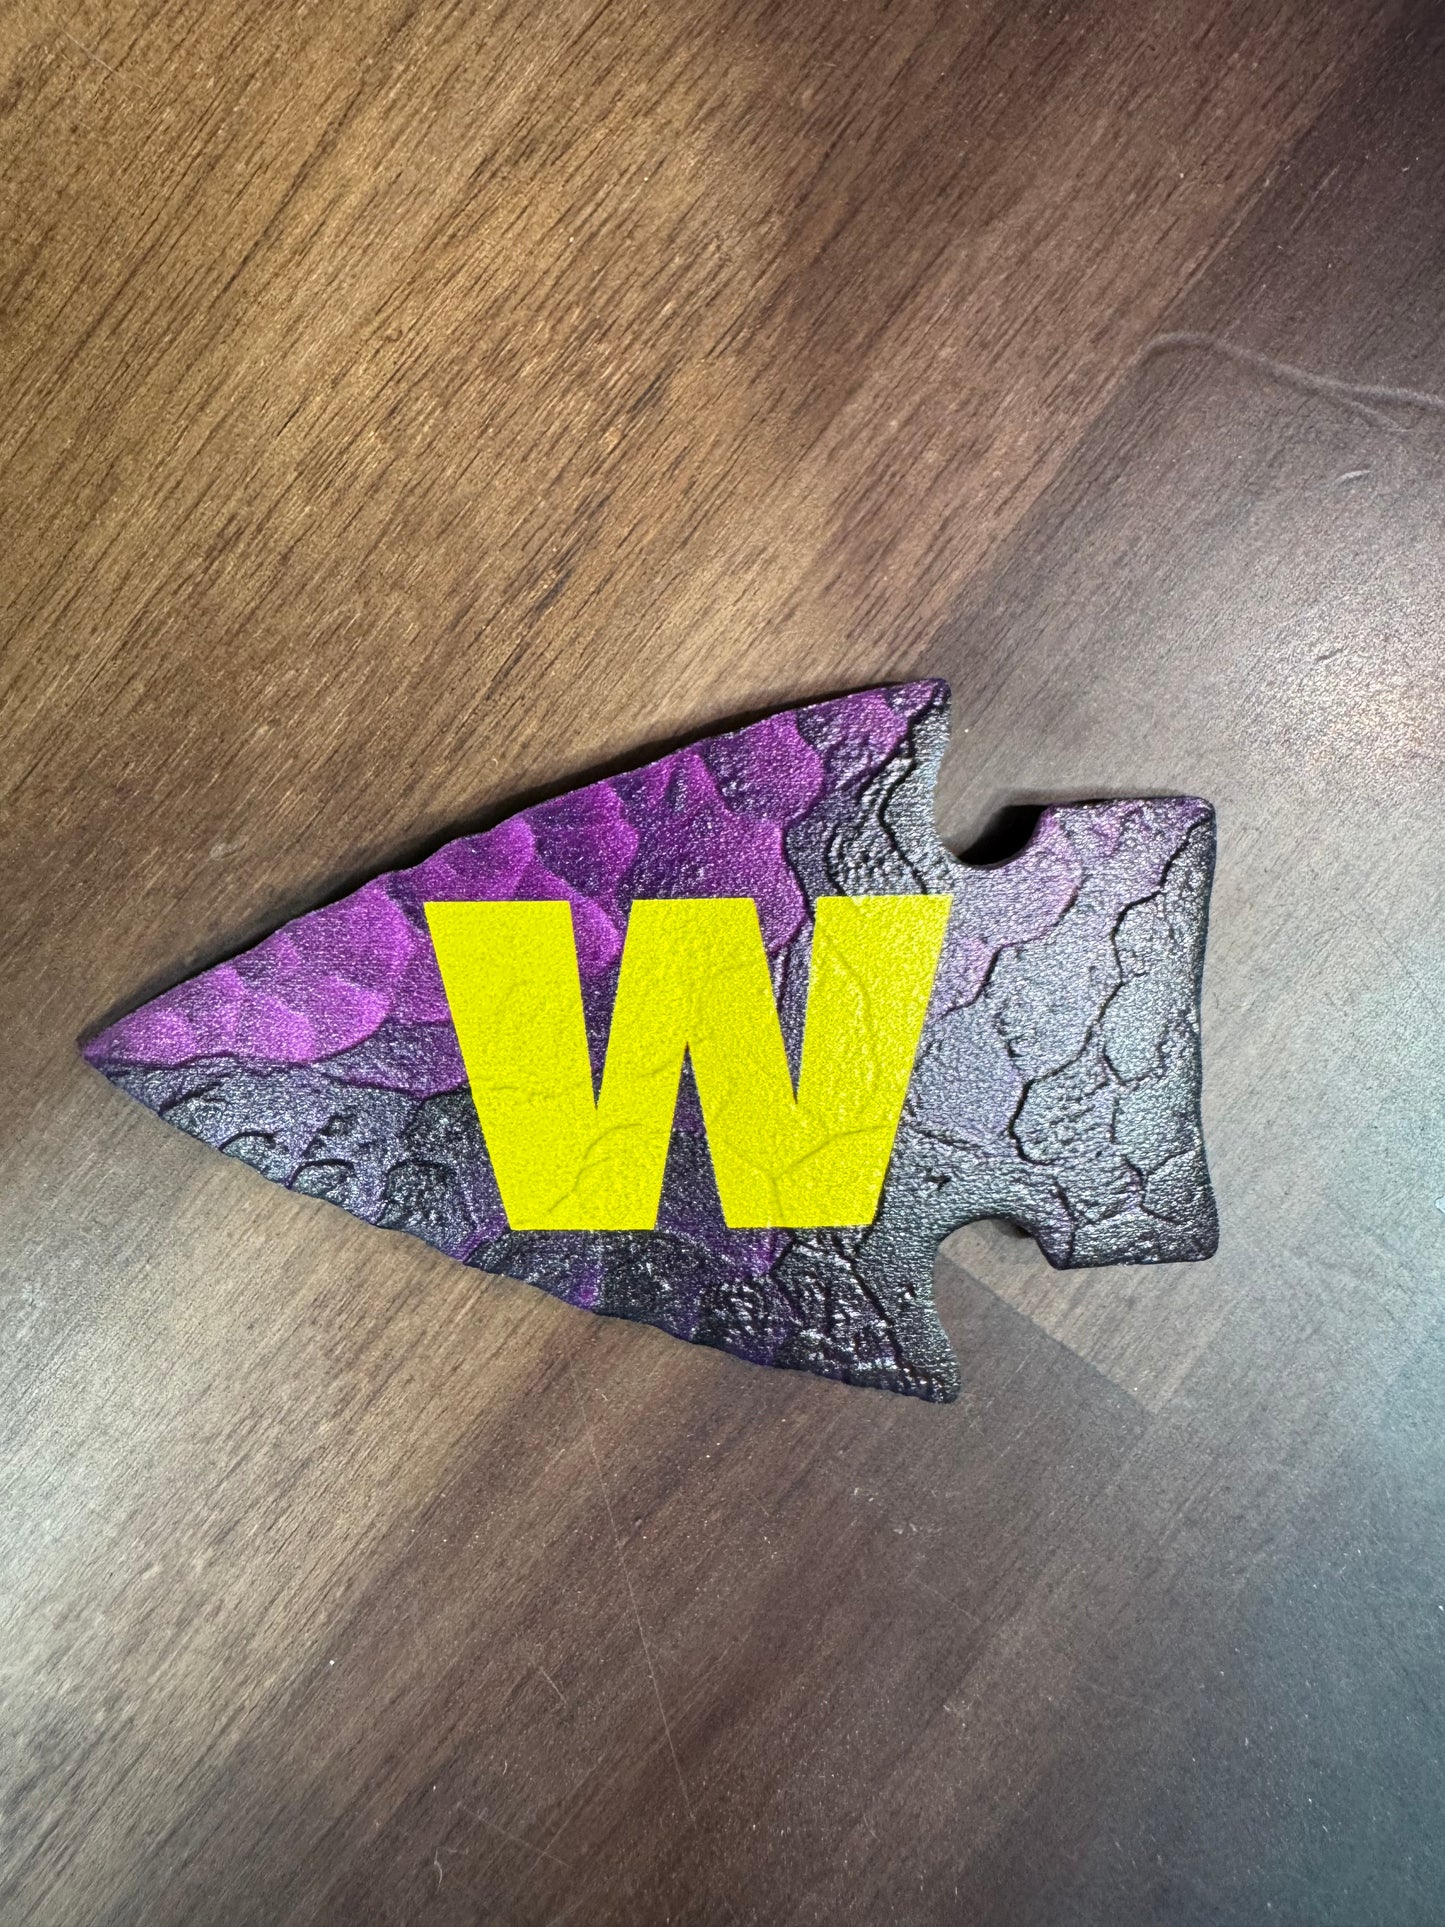
UV3D patches give brands a high-end, tactile effect that elevates their products, sets them apart from competitors, and makes their customers say “wow” the second they touch them..

What you’ll need:
your logo/artwork (vector preferred) and your desired patch size, backing leatherette color, finish, and quantity.

Screenshot 2025-09-26 090114.png__PID:93303765-780a-4102-a986-9fc5193d6fae

1. CHOOSE A SHAPE

Click the shape that best fits your design (e.g., oval, rectangle, circle, square, etc.).

Tip: If your design needs a unique outline, you’ll provide a cut-line with your upload (see Step 7).

2. PICK YOUR LEATHERETTE COLOR (BACKGROUND)

Use the Leatherette Color dropdown (e.g., (default-most common) -(White/Black). This controls the patch material color and the contrast.

Screenshot 2025-09-26 090213.png__PID:a6c8094b-39e7-4927-acb5-bb964cc1a950
Screenshot 2025-09-26 090321.png__PID:c6fbbe36-65fa-4155-8922-02cb3a8cb4f1

3. ENTER MEASUREMENTS

Under Measurements, type your Length and Width in inches.
Minimum: 1 in per side | Maximum: 4 in per side.

Circles/squares: use the same value for Length and Width (e.g., 2" × 2").

You’ll see a live size summary (e.g., 2 × 3 in) next to the section header.

Your patch will be sized to the longest width/length for best results.

4. SELECT QUANTITY

Choose one of the preset tiers (25 / 50 / 75 / 100) or select Custom and enter your exact number.

The page shows your pricing and “You Saved $…” callouts automatically.

Ordering 100+ waives the one-time artwork fee ($15).

Screenshot 2025-09-26 090625.png__PID:1cee94f9-1a5e-4d57-ba2f-5c844b4b1197
Screenshot 2025-09-26 090656.png__PID:d2835177-cd26-476c-8c27-ebfc636b7997

5. SET THE RASIED AREA

Open the Raised Area dropdown and select where you want the UV3D (the raised, textured portion) applied in your design.

Tip: If you’re unsure, add a short note with your upload describing which parts should pop (e.g., “raise the logo text and outline”).

6. CHOOSE THE FINISH

Select MATTE (subtle/satin look) or GLOSS (shiny, high-pop look).

Both protect the print; gloss emphasizes the 3D effect more.

If unspecified where you want the gloss, default will include all raised areas.

Screenshot 2025-09-26 090801.png__PID:895f5681-38b3-46fa-afac-7f874a9e3d41
Screenshot 2025-09-26 090828.png__PID:5864b424-d0ed-4ea5-8574-fc150f430d96

7. UPLOAD ARTWORK (WITH CUT-LINE)

Drag-and-drop or click Select Files under Upload Artwork with Cut-line.

(All file types are accepted.)

Best results: upload vector files (PDF/AI/SVG) or a high-resolution PNG (300 dpi+) with transparent background. If you chose a standard shape above, you can upload art only/we’ll align it to that shape.

NOTE:
If you want a custom outline, include a cut-line path in your file (a distinct/clearly labeled outline in red #255 CMYK). Add any production notes (colors to match, specific areas to raise, edge preferences) in the upload/comments box if available.

8. FINAL STEPS

Double-check shape, color, size, quantity, raised area, finish, and price. The price updates automatically based on your choices.

LASTLY, ADD TO CART AND CHECKOUT

Click Add to Cart and complete checkout. We’ll review your artwork and reach out if anything needs clarification before production.

QUICK TIPS FOR BEST RESULTS

Keep fine details bold: very thin lines or tiny text won’t raise well in UV3D. High contrast art makes the raised areas stand out. Convert fonts to outlines (vector files) to avoid substitutions. Leave a small safety margin inside the cut-line so key details don’t sit on the edge.

frequently asked questions

ORDER NOW